
How to make Multi-Brick Prints
In this tutorial, you will learn how to make large prints that are made out of several smaller prints. You can use this to create billboards, murals, large wall prints, or anything your little heart desires!
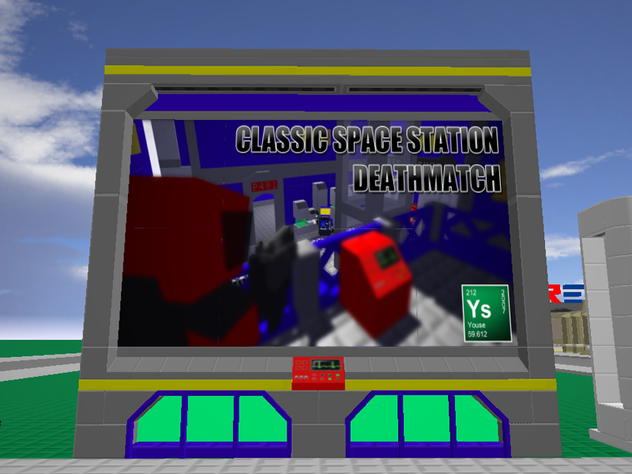
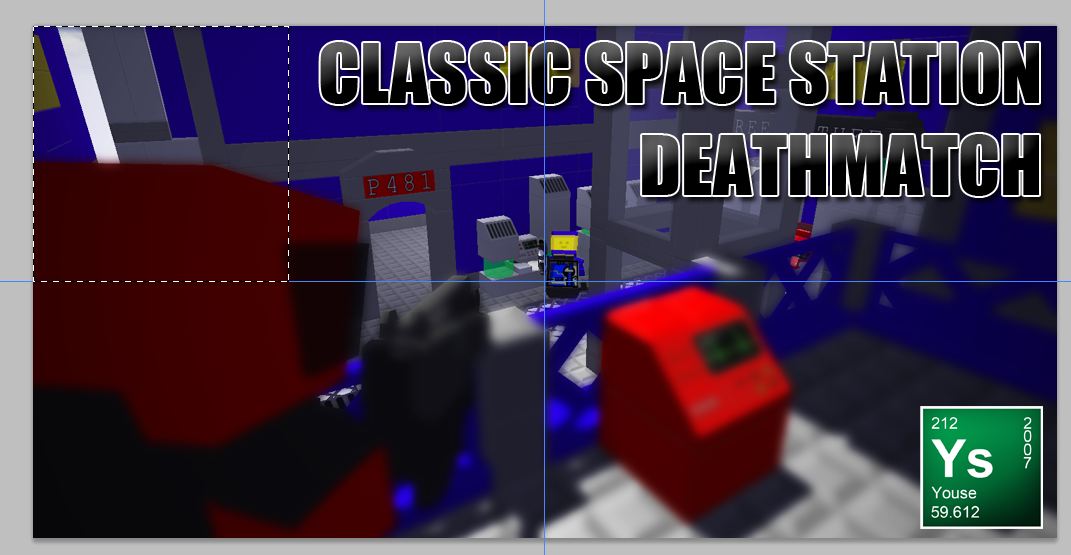
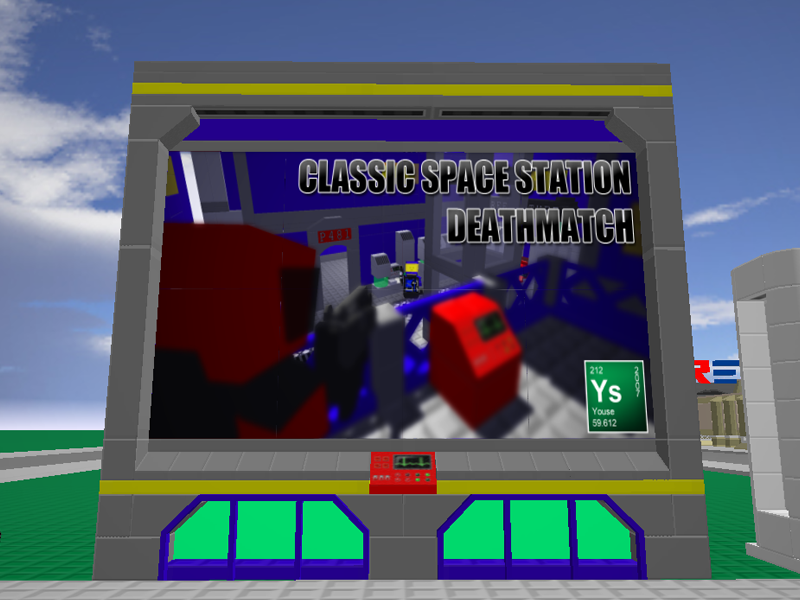
In this tutorial, I will be using an ad I made for Blockoworld 2012
In this tutorial, I will be using an ad I made for Blockoworld 2012
First of all, you need to figure out the dimensions of your poster in Print Bricks.
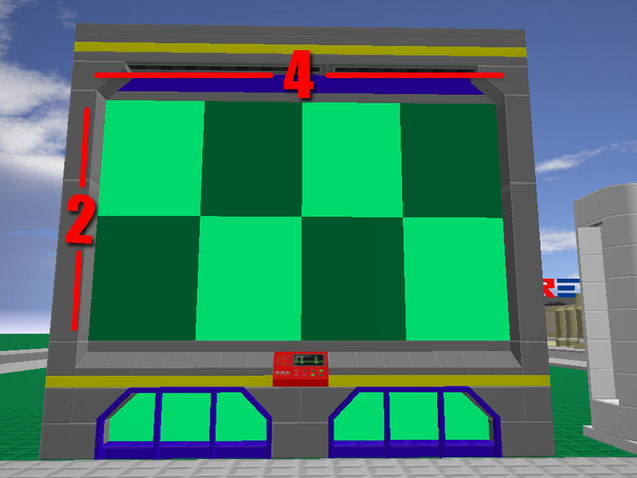
This poster is 4x2 (4 Print Bricks Width X 2 Print Bricks Height)
This poster is 4x2 (4 Print Bricks Width X 2 Print Bricks Height)
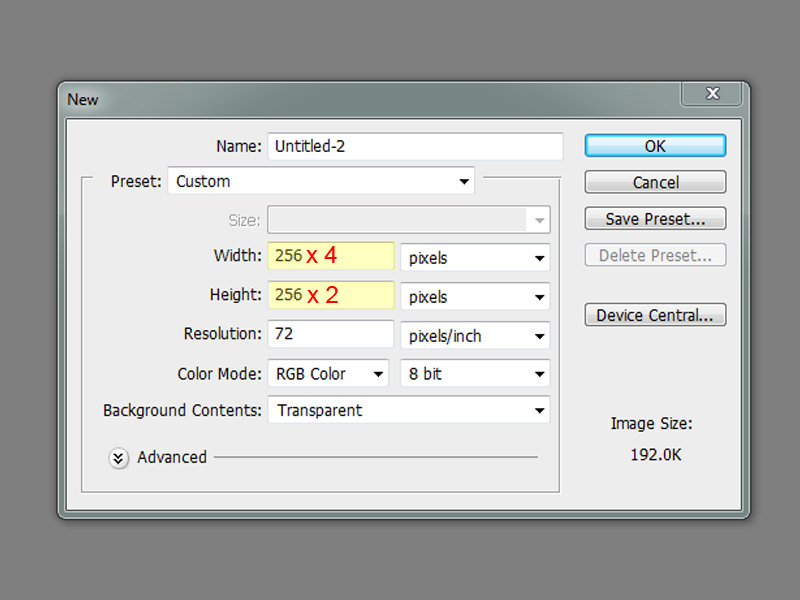
Now we need to open an image editor. I use Adobe Photoshop. We need to create a new document to fit the entire poster. A standard Print brick is 256x256, so we need to multiply those dimensions by how many print bricks we have.
Start a new document, and set the pixels so that it fits the following equation:
(256 x W) x (256 x H) where W= Print Brick Width and H= Print Brick Height
This will give us the size of the full poster.
In my case, I have 4 print bricks x 2 Print bricks. So my equation would look like this:
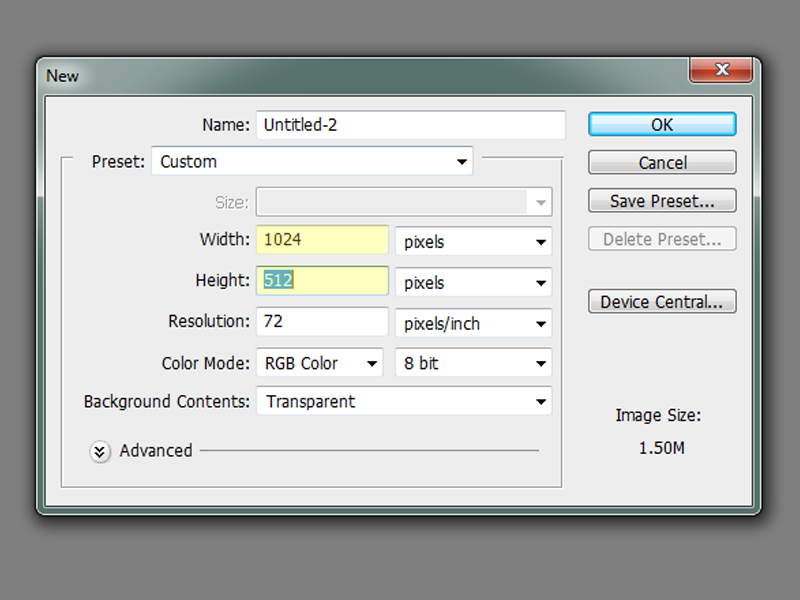
(256 x 4) x (256 x 2) which would give us a total dimension of 1024 x 512
Start a new document, and set the pixels so that it fits the following equation:
(256 x W) x (256 x H) where W= Print Brick Width and H= Print Brick Height
This will give us the size of the full poster.
In my case, I have 4 print bricks x 2 Print bricks. So my equation would look like this:
(256 x 4) x (256 x 2) which would give us a total dimension of 1024 x 512
|
|
Press OK and you will get a new blank document. Next you just have to create your print!

My print is already completed, I can't really help you with this part. Make the poster however you want!
Next we need to copy and paste each section of the poster into it's own 256x256 print so we can export it into Blockland.
If the program you are using has Guidelines, that will help with this part.
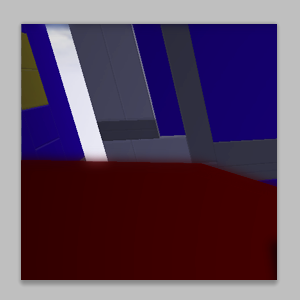
Select a 256x256 square, there are various methods to do this. Copy this selection. If your program uses layers you will need to use "Copy Merged" or something of the like.
Next we need to copy and paste each section of the poster into it's own 256x256 print so we can export it into Blockland.
If the program you are using has Guidelines, that will help with this part.
Select a 256x256 square, there are various methods to do this. Copy this selection. If your program uses layers you will need to use "Copy Merged" or something of the like.
Start a new file with the dimensions 256x256, and paste what you selected & copied from the whole poster into this file.
|
|
You will need to do this for EACH PIECE of your poster.
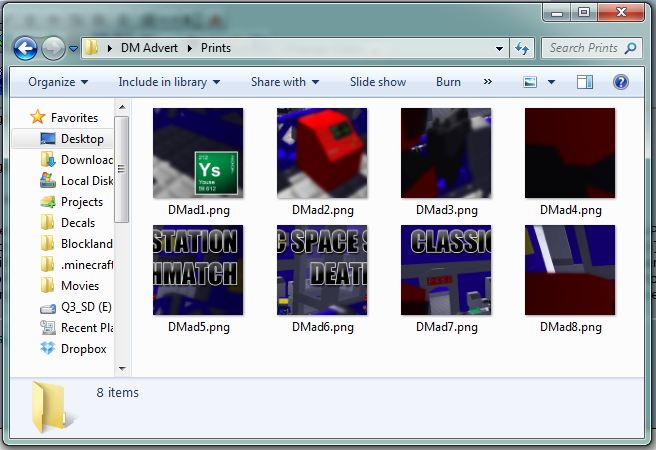
Save Each piece of the poster this way and all of their corresponding icons into the proper packaging for a Print. You can read more about packaging prints here.
Tip: For some reason, prints are exported in game in reverse alphabetical order. This means if you name all of your prints in order starting with 1, 2, 3, and 4, they will export in game as 4, 3, 2, 1. So it is helpful to name all of your prints starting with a number, counting backwards, so that they all show up in order in game and are easy to place.
|

|
Then once you have properly packaged the decals and installed them, just lay out your print bricks and print each individual print in order!
I hope this tutorial was helpful! If you have any questions or parts were confusing for you, feel free to contact me via my Email, BL forums, or Steam!
